Update: If one of your machines is using iTunes 12.0 or greater all machines will need to be using this as it will update your root files.
In this post I am going to cover the migration of your iTunes library to an external drive and then the process of hosting your iTunes library from this external drive. To work through this, you’ll need any machine running iTunes as well as a network storage device such as a NAS.
There are pros and cons to doing this:
Pros:
- Uses your networked storage, which is likely bulk storage
- Allows you to maintain one consistent iTunes library among devices
Cons:
- Your iTunes will be less responsive
- If your networked drive is asleep iTunes will not wake it up and you will need to locate the library
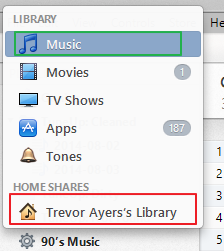
*Note that we are setting the external drive as our primary drive and we’re not adding the networked drive as a “home share.” This means that we can edit this media from any networked device as if it was local
Steps for migrating your iTunes library to a networked drive:
- Manually transfer your iTunes media files to the external drive by copying the “iTunes media” folder in the applicable location per your OS:Mac OS X:/Users/username/Music/iTunes/iTunes Media
- Windows XP: C:\Documents and Settings\username\My Documents\My Music\iTunes\iTunes Media
Windows Vista: C:\Users\username\Music\iTunes\iTunes MediaWindows 7: C:\Users\username\My Music\iTunes\iTunes MediaWindows 8: C:\Users\username\My Music\iTunes\iTunes Media - Paste these files to your external device, which may take some time depending on size and network bandwidth
- Point iTunes to the new destination by holding shift while launching iTunes on a Windows machine (option on an OSX machine) and browsing for the new location. Select the iTunes media folder and click okay.
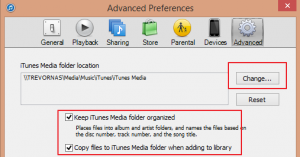
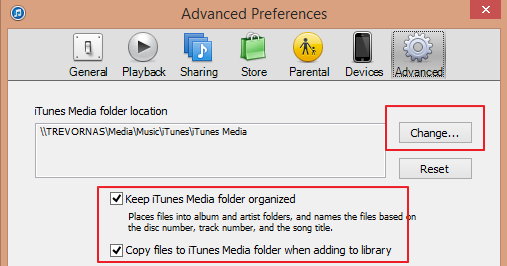
- Another way to accomplish the above step is to open iTunes – Edit > Preferences > Advanced Tab > Click “change” and navigate to your new file location.
- You should also go into the advanced tab and check the boxes for “Keep iTunes Media folder organized” and “copy files to iTunes Media folder when adding to library.”
- You should now see your media hosted from the external drive. Test by cut/pasting your local iTunes media folder to your desktop and launching iTunes. If you still see your media you can delete these files off your computer.
You’re all set up!