Typically, adding conversion tags such as Facebook’s conversion tag with Google Tag Manager is a breeze. Set up the custom HTML tag, place the conversion script and set the triggers to fire the conversion pixel. However, I found Facebook’s information for the conversion scripts to be fragmented, so I wanted to provide the complete overview here. Now, let’s add the Facebook conversion tag with Google Tag Manager.
Note that you will already need a Google Tag Manager account and you need the container placed on all of your site pages – or at least the pages you want to add Facebook conversion tag to.
How to Add Facebook Conversion Tag with Google Tag Manager
For Facebook’s official resource click here. This is actually a great resource and I’m not trying to re-invent the wheel here. However, once you get to step six under the “action-specific” tag you may be wondering what exactly you are to place in the custom HTML tag. This is the process I will work through.
Please reference the above Facebook link in order to generate your Facebook pixel and place on your site via Google Tag Manager. Once you have your all-page pixel placed, move forward with the below setup for adding the Facebook conversion tag.
1. Add a new tag.
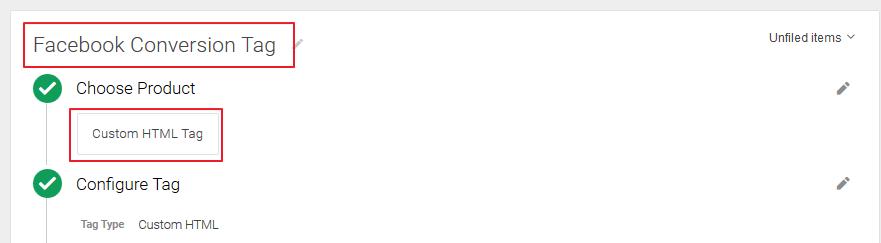
2. Name this Facebook Conversion Tag or anything memorable.
3. Choose Product: Custom HTML Tag.
4. Use this Facebook resource to grab the script you will add as your Custom HTML. This is where I think the resources could be better consolidated as you need these scripts or you’ll be at a loss for what to paste in as the custom HTML. What you’ll need is one, or more, of the scripts under the “Reporting Events” section in the above resource:
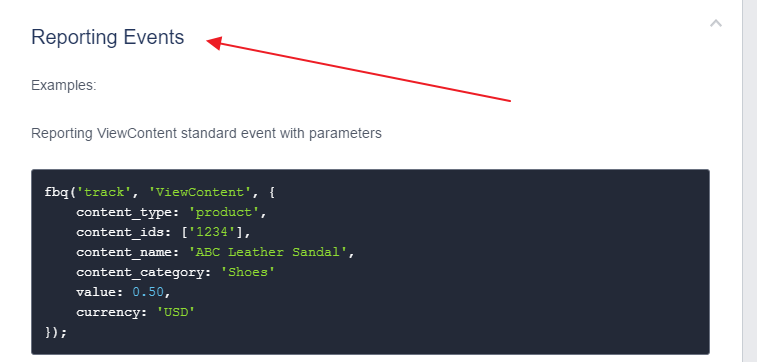
What we’ll do next is grab one of the conversion codes, swap out the applicable information and wrap it in <script> tags. For this example, I will be using the “Lead” event. Below is the code copied exactly:
fbq('track', 'Lead', {

content_name: 'Auto Insurance',

content_category: 'Quote',

value: 40.00,

currency: 'USD'

});
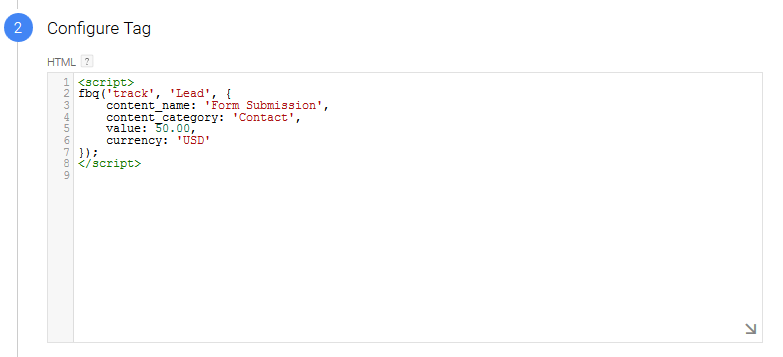
The exact code we’ll need to paste into our GTM Custom HTML tag is below. All I’ve done is swapped out some information and wrapped it in <script> tags:
<script>

fbq('track', 'Lead', {

content_name: 'Form Submission',

content_category: 'Contact',

value: 50.00,

currency: 'USD'

});

</script>
Note that if you do copy/paste the above, I recommend pasting as plain text to avoid wonky formatting killing the script.
5. Paste Your Facebook conversion tag in the “Configure Tag” HTML box.
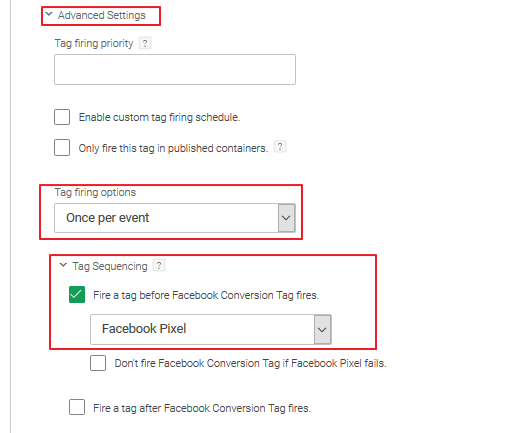
6. Set conversion pixel to fire AFTER existing Facebook pixel.
Advanced Settings > Tag Sequencing > Check “Fire a tag before [tag name] fires” > select your Facebook pixel from the drop down
In most situations, I also select “Once per event” under “Tag firing options:”
7. Set your triggers to fire the pixel. The triggers alone could be a robust post. You likely already have triggers for firing Google Analytics events so you can use these existing triggers to fire your Facebook conversion code. You can base triggers on almost any interaction or page view. If you need an overview, start here.
8. Once you have your triggers added, save your tag.
9.. Publish your container.
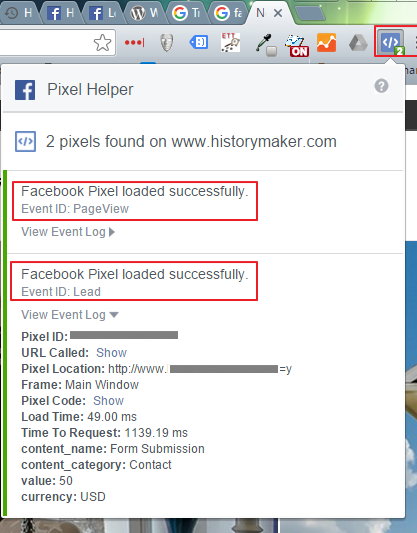
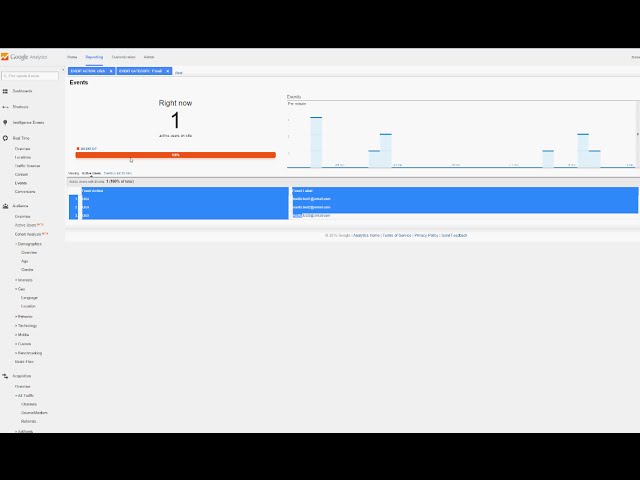
10. Download FB pixel helper Chrome extension and test. The Chrome extension will show a number relevant to how many FB pixels it detects. What you’re looking for is your FB pixel to fire on all pages, but on the pages/interaction that triggers your conversion you’ll want to see the number two here. You can click on it to see if your defined values are passed: